AzamSharp
StoreKit Subscriptions: A Practical Guide
Part 4: Setting Up and Displaying Subscription Products
Introduction
In the previous parts of this series, we explored different monetization models, discussed why onboarding plays such a critical role in conversions, and looked at how paywall timing can influence whether users subscribe or walk away. All of that context matters, but none of it works without a solid technical foundation.
This is where implementation really begins.
In this article, we will focus on how to correctly set up subscription products in App Store Connect and how to display those products inside your iOS app using StoreKit. This step is the backbone of any subscription based app. If your products are misconfigured, loaded incorrectly, or presented inconsistently, everything built on top of them becomes harder to reason about, harder to debug, and harder to maintain.
By the end of this article, you will have a clean and reliable setup for loading subscription products, presenting accurate pricing to users, and initiating purchases using modern StoreKit APIs.
Learn SwiftUI, SwiftData, StoreKit, testing, and more with practical videos and live workshops.
Join AzamSharp School →
Setting Up Subscriptions on App Store Connect
Before writing any StoreKit code, your subscriptions must be fully configured in App Store Connect. This step is easy to rush through, but taking the time to do it properly will save you a lot of confusion later. Think of App Store Connect as the source of truth for everything related to pricing, duration, trials, and eligibility.
Start by going to App Store Connect and creating a new app. For this example, I named my app My Green Place, a gardening app, but you can name your app anything you want. Once the app is created, the next step is to set up subscriptions.
From the left menu, select Subscriptions. The first thing you need to create is a subscription group. I named mine My Green Place Group. This group will contain all subscription options that unlock the same level of access in the app.
A subscription group is how Apple organizes related auto renewing subscriptions that unlock the same functionality but differ in duration or price. A user can only be subscribed to one product in a group at a time, but they can freely switch between subscriptions within the same group, such as moving from a monthly plan to a yearly plan, without losing access.
Apple treats these changes as upgrades or downgrades and manages billing automatically. Importantly, switching within the same group does not reset the subscription tenure. After the first year, you continue to receive 85 percent of the proceeds, after tax if applicable.
Once the subscription group is created, you can begin adding individual subscriptions to it. Click Add Subscription and provide a reference name. This name is internal and only visible to you in App Store Connect. Next, define the product identifier, subscription duration, pricing, and any optional free trial or introductory offer.
These values will later be fetched directly by StoreKit and displayed inside your app, so accuracy here is important. After saving the subscription, repeat this process for each plan you want to offer, such as monthly and yearly. When finished, your subscription products are ready to be loaded and displayed inside your app.

Preparing the App for StoreKit
After setting up your products in App Store Connect, the next step is preparing your app to interact with StoreKit.
Select your app target in Xcode, open Signing and Capabilities, and click Add Capability. From the list, choose In App Purchase. This adds the required entitlements so your app can communicate with StoreKit.
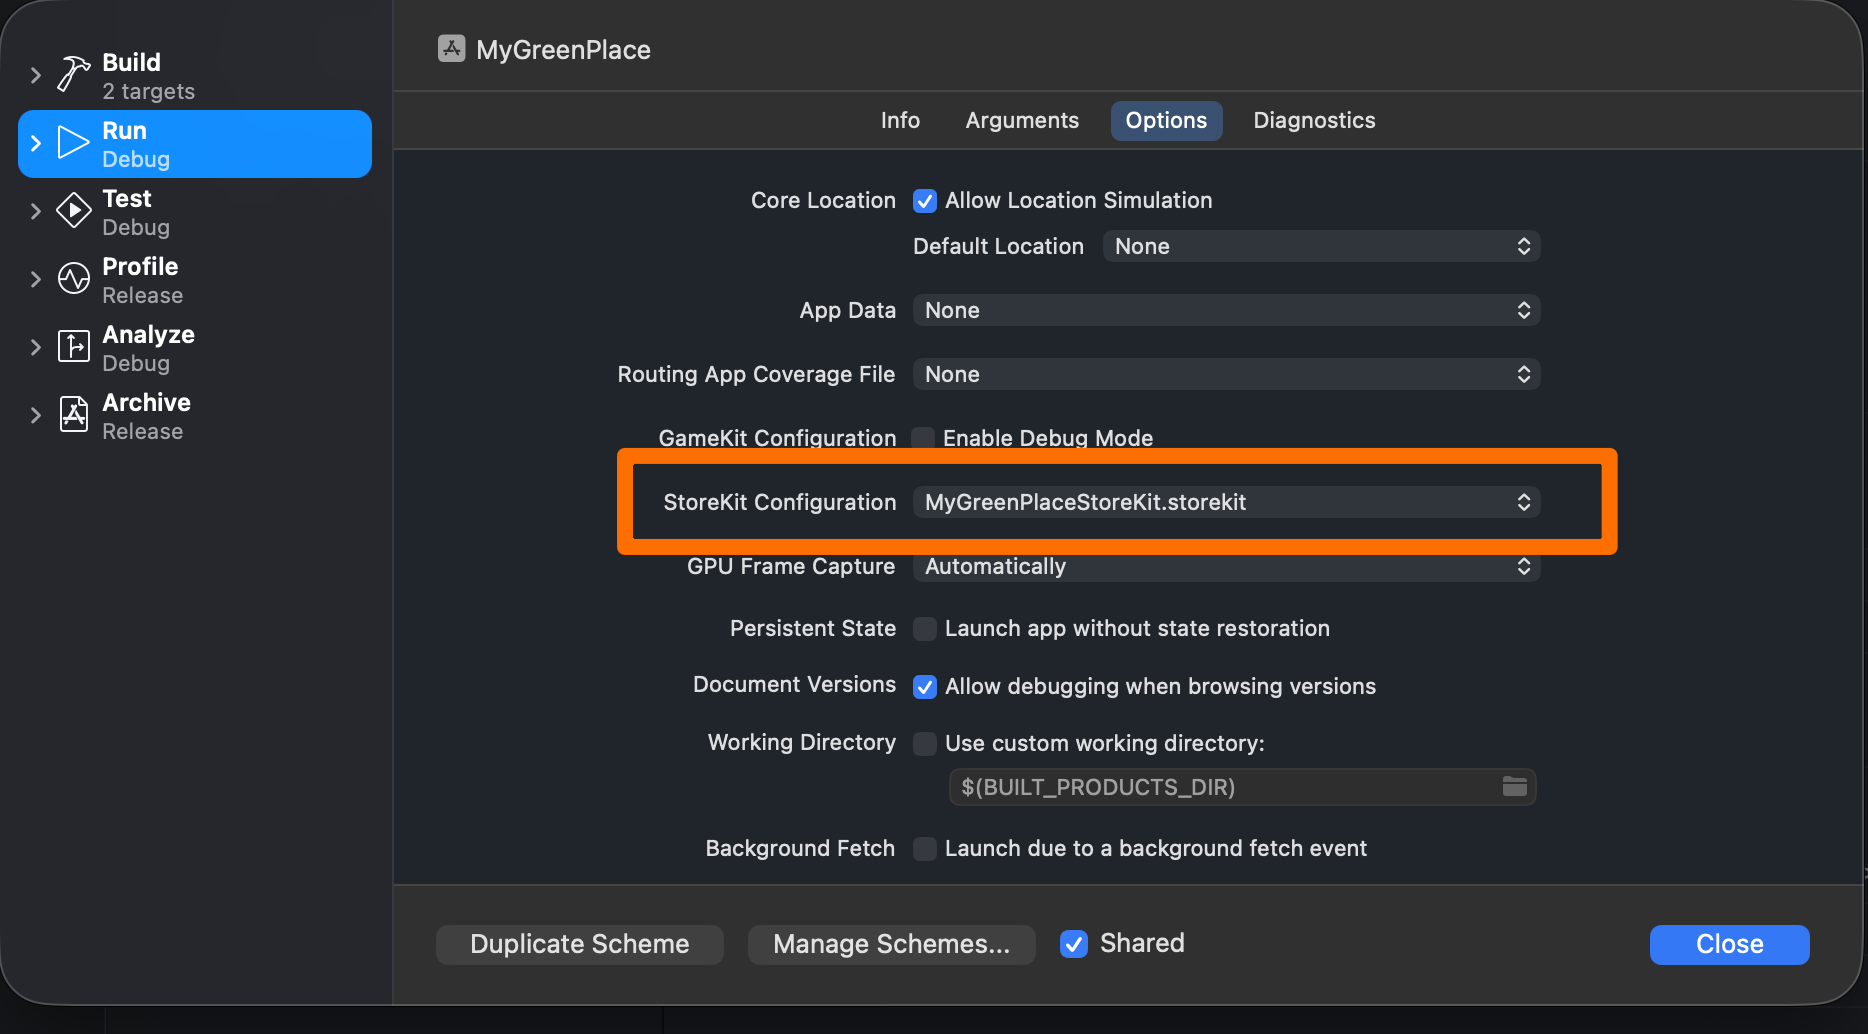
In addition to this, you should add a StoreKit configuration file to your project. This file allows you to test subscriptions, prices, renewals, and edge cases directly in Xcode without relying on the real App Store. It is one of the most valuable tools for developing and debugging StoreKit flows and should be part of every subscription based project.

After creating the StoreKit configuration file, make sure to select it under your scheme settings so Xcode knows to use it when running the app.
With these steps complete, we are ready to load and display subscription products.
Displaying Subscription Prices
We will start by adding a Store class that uses the @Observable macro. The main goal of this class is to centralize everything related to StoreKit, including loading products and handling transactions, in one place.
By keeping StoreKit logic inside a dedicated type, your views remain focused on presentation rather than business logic. The implementation below demonstrates how the Store class loads products using the product identifiers you configured in App Store Connect.
import Foundation
import Observation
import StoreKit

@Observable
class Store {

    var products: [Product] = []

    let productIds = ["1010", "1011"]

    func loadProducts() async throws {
        products = try await Product.products(for: productIds).sorted {
            $0.id > $1.id
        }
    }
}
In this example, the productIds are hardcoded. For many apps, this is perfectly fine. However, if you plan to add or remove products without submitting a new app version, a better approach is to fetch the product identifiers from your server.
The products are also sorted in descending order. This ensures the monthly subscription appears first, followed by the annual plan. There are many ways to sort StoreKit products, but this approach is simple and works well for most applications.
Building the Paywall UI
Next, we focus on the user interface.
The Store is injected as an environment value at the root of the application. This allows us to easily access it throughout our views. We call store.loadProducts() inside a task modifier to load products asynchronously when the view appears.
The paywall handles three states: loading, success, and failure. This ensures users always receive appropriate feedback.
import SwiftUI
import StoreKit

struct PaywallScreen: View {

    private enum LoadingState {
        case loading
        case success([Product])
        case failure(Error)
    }

    @Environment(Store.self) private var store
    // annual id is selected
    @State private var selectedProductId: Product.ID? = "1010"
    @State private var loadingState = LoadingState.loading
    @State private var errorMessage: String?

    private var callToActionButtonTitle: String {

        guard let product = store.products.first(where: { $0.id == selectedProductId }) else { return "Start Growing"}

        return "Start growing for \(product.displayPrice)"
    }

    private var selectedProduct: Product? {
        store.products.first(where: { $0.id == selectedProductId })
    }


    private func productList(_ products: [Product]) -> some View {
        List {
            ForEach(store.products) { product in
                ProductRow(product: product, isSelected: product.id == selectedProductId) { selectedProduct in
                    selectedProductId = selectedProduct.id
                }
            }

            if let selectedProduct {
                Button("Start growing for \(selectedProduct.displayPrice)") {
                    Task {
                        do {
                            try await store.purchase(selectedProduct)
                        } catch {
                            print(error.localizedDescription)
                        }
                    }
                }.buttonStyle(.callToAction)
            }
        }
    }


    private func loadProducts() async {
        do {
            try await store.loadProducts()
            loadingState = .success(store.products)
        } catch {
            loadingState = .failure(error)
        }
    }

    var body: some View {

        Group {
            switch loadingState {
            case .loading:
                ProgressView("Loading...")
                    .task {
                        await loadProducts()
                    }
            case .success(let products):
                productList(products)
            case .failure(let error):
                Text(error.localizedDescription)
            }
        }.navigationTitle("Choose a subscription")
    }
}

struct ProductRow: View {

    let product: Product
    let isSelected: Bool
    let onSelect: (Product) -> Void

    var body: some View {
        HStack {
            Image(systemName: isSelected ? "circle.inset.filled": "circle")
            Text(product.displayName)
            Spacer()
            Text(product.displayPrice)
        }
        .contentShape(Rectangle())
        .onTapGesture {
            onSelect(product)
        }
    }
}

#Preview {
    NavigationStack {
        PaywallScreen()
    }.environment(Store())
}
If products fail to load and you do not present a clear message to the user, your app may be rejected during App Review.
The code above includes basic handling for failure states, but you can always add more robust validation and user friendly messaging depending on your app’s needs.
Initiating a Purchase
When the user presses the purchase button, we call store.purchase. This triggers the system purchase sheet and allows the user to confirm the subscription.
func purchase(_ product: Product) async throws {
    let _ = try await product.purchase()
}
This implementation is intentionally incomplete and will generate a warning. Do not worry about that yet. We will improve and finalize purchase handling in the next article.
If you run the app and tap a subscription, you will see the system purchase dialog appear. Since we are using a StoreKit configuration file, all transactions are performed in test mode and no real charges occur.
Resources
- Part 1 - Understanding Different Monetization Models
- Part 2 - Understanding Soft and Hard Paywalls
- Part 3 - Creating a Great Onboarding Experience
- Setting Up and Displaying Products
Conclusion
At this point, you have a complete and working setup for displaying subscription products and initiating purchases in an iOS app. You configured subscriptions in App Store Connect, loaded them using StoreKit, presented accurate pricing in a paywall, and triggered purchases with a small amount of well structured code.
This is one of the most important milestones in building a subscription based app. Once this layer is solid, everything else becomes easier. Onboarding flows become clearer, paywalls are easier to experiment with, and purchase related bugs become far less common.
The purchase logic shown here is intentionally simple. In a production app, you must handle transaction verification, entitlement management, subscription state changes, and edge cases carefully.
That is exactly what we will cover next.
In the next part of this series, we will dive deeper into handling purchases properly, verifying transactions, and managing subscription state so your app always knows exactly what access a user should have.