AzamSharp
SwiftRide – Building a Ride Sharing App (Part 1 – Setting Up the Stack)
These days it feels like the software industry is rapidly moving toward one thing: letting AI write most of our code. You give the tool a prompt, it generates a solution, and within seconds you have something that looks like a working application. These tools are incredibly powerful and I use them myself, but I have also noticed something interesting happening along the way. The more developers rely on AI to generate their code, the less time they spend thinking through problems, architecture, and design decisions.
For this project I decided to go in the opposite direction.
Instead of letting AI build the application for me, I wanted to slow things down and write the code myself. SwiftRide is a fun side project where I will build a ride sharing application from scratch while documenting the entire journey. The goal is not to compete with Uber or Lyft. The goal is to learn, experiment, and enjoy the process of building software again.
This will be a multi part series where we walk through the complete process of building SwiftRide step by step. We will start by setting up the backend and database, then gradually build the API layer, and eventually connect everything to a SwiftUI client application. By the end of the series you will have a working ride sharing system and, more importantly, a deeper understanding of how all the pieces fit together.
If you are a Swift developer, this series is written with you in mind. And if you happen to be a Java, Kotlin, C#, or Go developer, you are still welcome to follow along… although you might have to take the bus for now.

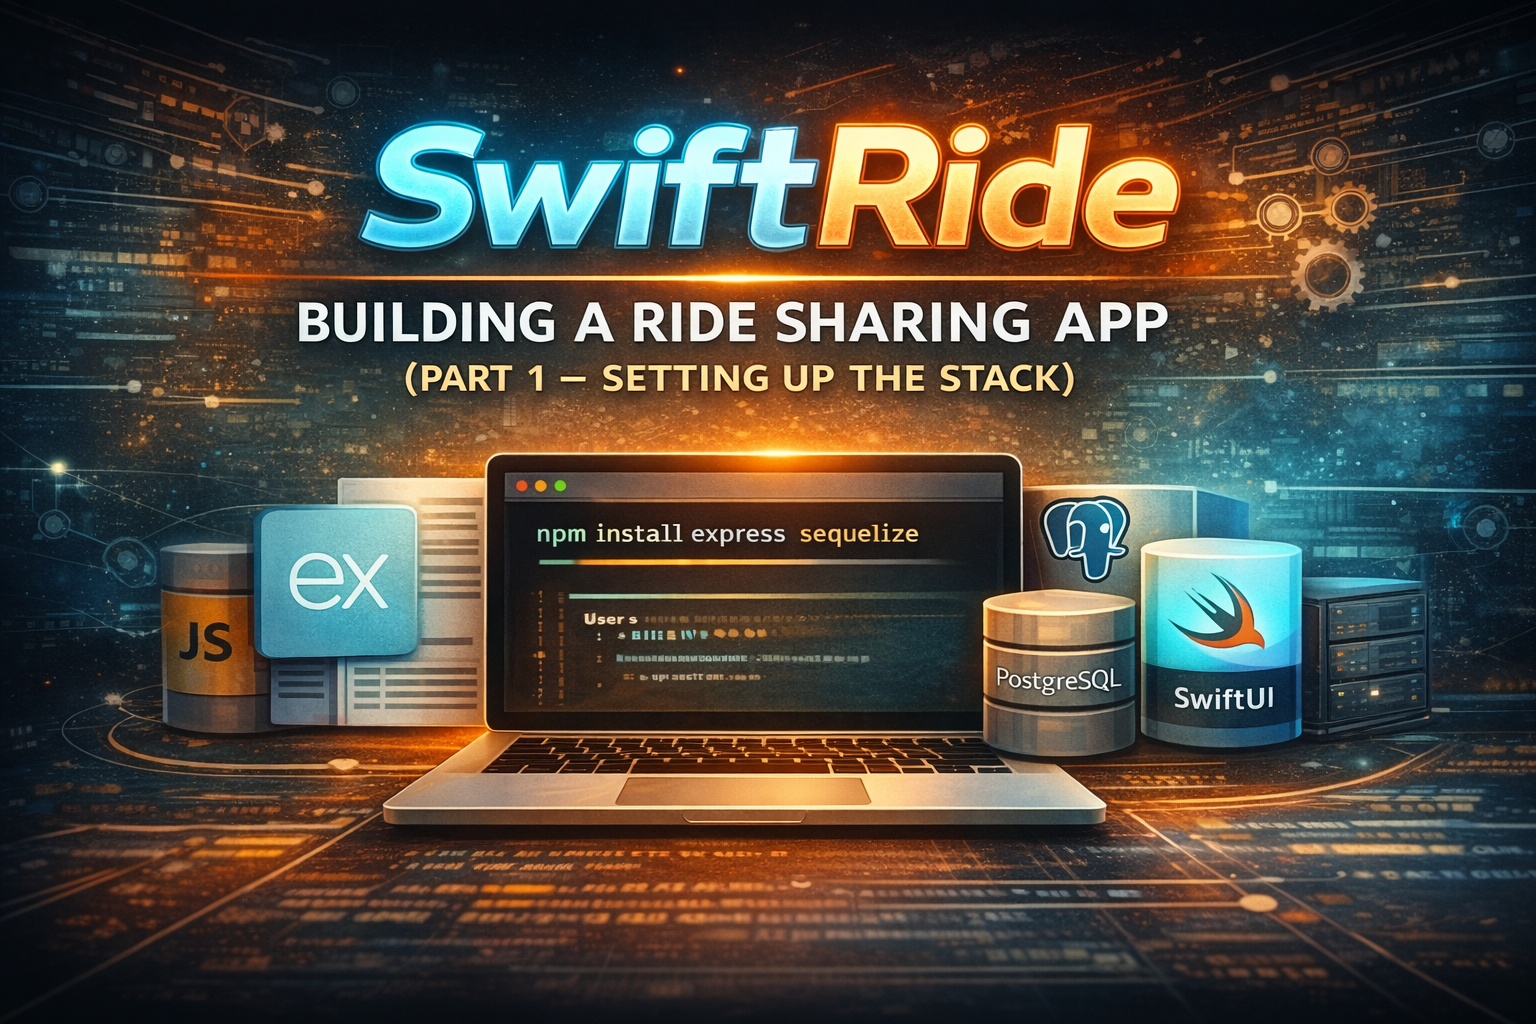
Technologies
If you have followed my work for a while, you probably know that I have a soft spot for JavaScript and Express. I genuinely enjoy writing backend services using this stack. JavaScript is flexible, productive, and makes it easy to build APIs quickly without fighting the language.
Another reason is simply familiarity. I have been doing full stack development for many years, so my comfort level with this stack is much higher compared to many other backend frameworks, including Vapor. While Vapor is an excellent framework, using Node and Express allows us to move quickly and keeps the backend lightweight.
For the database we will use PostgreSQL, one of the most widely used relational databases available today. PostgreSQL is known for its reliability, performance, and strong ecosystem, making it a great choice for applications that require a solid data layer.
And before anyone starts worrying, no, we will not be writing raw SQL queries all day long. Instead we will use Sequelize, which is an ORM that allows us to interact with PostgreSQL using JavaScript objects. This makes the code easier to read and maintain while still giving us the power of a relational database.
For the frontend we will use SwiftUI.
I almost wrote UIKit there just to see if anyone was paying attention.
UIKit has served the iOS community extremely well for many years, but if you are building modern applications today, SwiftUI is clearly where the platform is heading. Apple continues to invest heavily in SwiftUI, and it has quickly become the preferred way to build new user interfaces across Apple platforms.
Nothing against UIKit, but the path forward is SwiftUI.
What About AI Tools?
Tools like Claude Code, Codex, and ChatGPT are incredibly powerful and I use them every single day. They are excellent for brainstorming solutions, exploring different approaches, and quickly referencing unfamiliar APIs.
However, I try to use AI as a learning resource rather than a code generator. When developers blindly copy and paste generated code, they miss an important part of the development process: understanding why the code works and how the pieces fit together.
The purpose of this project is to slow things down and focus on writing the code ourselves. When you write the code, you naturally think through architecture decisions, edge cases, and tradeoffs. That process is where most of the real learning happens.
Maybe you remember the days when programming magazines printed code on the back pages and you would sit there typing it line by line into your editor.
If you remember that, congratulations. You are officially old.
But those experiences taught us something valuable. Writing code by hand forces you to understand what you are building.
This does not mean you should avoid AI tools completely. It simply means you should use them responsibly. If AI generates code for you, take the time to read it, understand it, and improve it.
Your future self will thank you for the clean and maintainable code you write today.
Setting Up PostgreSQL Database
The easiest way to install PostgreSQL on macOS is by using the Postgres Mac app, which can be downloaded from:
Once the application is installed, launch it and click the Initialize button if the databases have not already been created. The app will automatically create a few default databases, including one that is typically named after your macOS username.
Double click on the database and it will open a terminal connected to PostgreSQL. This terminal allows you to run SQL commands directly against the database server.
To create the database for our project, run the following command:
CREATE DATABASE swiftridedb;
After the command executes successfully, you can exit the terminal by typing:
\q
If you return to the Postgres application interface, you should now see the newly created swiftridedb database listed among the available databases.
Make sure the PostgreSQL server remains running whenever you are working on the backend. If the server is stopped, the backend application will not be able to establish a connection to the database.
Setting Up Node Application
Next we will create the Node.js backend that will power the SwiftRide API.
First make sure Node.js is installed on your machine. There are several ways to install Node. You can use Homebrew, download the installer from the official Node website, or use a version manager such as nvm.
Once Node is installed, create a new folder for the backend project.
SwiftRideServer
Navigate into the folder and initialize a new Node project using the following command:
npm init
This command creates the initial configuration for your Node application and generates the package.json file that will track project dependencies.
Next we will install the packages that form the foundation of our backend.
npm install express
npm install cors
npm install sequelize pg
The express package installs the Express web framework, which will serve as the core of our backend API.
The cors package enables Cross Origin Resource Sharing, allowing our SwiftUI application to communicate with the backend server while it is running locally during development.
The sequelize and pg packages install the Sequelize ORM along with the PostgreSQL driver, enabling our Node application to communicate with the PostgreSQL database.
At this point we have the basic foundation of our backend stack in place. In the next part of this series we will begin wiring everything together and start building the first pieces of the SwiftRide backend.
Setting Up SwiftUI Project
For now, go ahead and create a default SwiftUI application using Xcode. We are not going to worry too much about project structure yet. As the series progresses, we will gradually refactor the project and introduce a structure that makes it easier to organize features, networking code, and shared models.
At this stage the goal is simply to get a basic SwiftUI client project up and running so it can eventually communicate with our backend.
One small organizational tip that can help is keeping both the server and the client inside the same parent folder. This makes it easier to navigate the project and keeps everything related to SwiftRide in one place.
Your folder structure can look something like this:
SwiftRide
 ├── SwiftRideServer
 └── SwiftRideClient
Keeping both projects together makes development easier, especially when you are switching between the backend and the SwiftUI client while building new features.
Source
You can download source code using the GitHub repository: https://github.com/azamsharpschool/SwiftRide
Conclusion
At this point we have the basic development environment ready. PostgreSQL is installed and running, our Node project has been initialized, and we have installed the core packages that will power the backend of the SwiftRide application. While we have not written any backend code yet, we now have the foundation needed to start building the server.
Setting up the environment may not be the most exciting part of a project, but it is an important step. Taking the time to understand the tools and how they fit together will make the rest of the development process much smoother.
In the next part of this series we will begin configuring our database layer using Sequelize. We will connect our Node application to PostgreSQL, configure Sequelize, and start defining the models that represent the core entities of our ride sharing system.
This is where things start to get more interesting, because we will begin shaping the data model that will power the entire SwiftRide application.